I think it’s the right time now to share with you what I like to crochet most.
Bags, purses, market bags ……………..
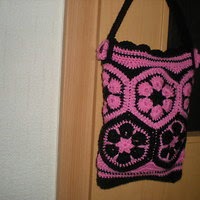
This is one of the styles I made.


The following two purses are custom made. Not exactly my choice of colors, but definitely an interesting combination.

Flower purse pattern
Size really depends on type of material and size of hook you using.
You need:
Acrylic yarn or cotton of your choice
Crochet hook suggested for your material – I mainly used E/3,5mm and G/4mm
Yarn Needle
Nice buttons, little flowers or beads. Simply anything you like to decorate your purse with.
Terms/Abbreviations: I used US terminology
ch chain
slst slip stitch
sc single crochet
hdc half double crochet
dc double crochet
st stitch
3dctog. 3 dc together
2sctog. 2 sc together
Note: Please read all instructions first, so you can choose one of the various options of this pattern, which best suites your project.
Purse

For this purse I made 12 hexagons. For the inside flower I chose four colors – pink, blue, yellow and green. All the flowers are edged with a metallic grey (row 4 on the chart) and white (row 5 on the chart). I made three of each color.


It is really up to you how many hexagons you’ll make. As you can see above, I did little purses with 10 hexagons only, the one I am writing about with 12, and even bigger one with 18. It is all depending on size of your purse. The pattern can be use for any amount of hexagons.
When I have all the hexagons I need, I sew them together – backstitch only. The other option is to join them together with scs if you like. Then I sew the hexagons together in rows and sew the rows together afterwards. You should end up with sort of tube or cylinder.
When all the hexagons are attached into tube, I continue with the lower part and bottom of the purse. I came up with two variants.
For this “white” purse, made out of 100% cotton, I used this:

B:
Round 1: Start where the arrow is pointing. Join, ch1, *sc in the same st, sc in next 9 sc, sc into the joining, sc in next 9 sc*, repeat from* to*, slst in first sc. In this case I crochet sc’s in back stitches only, but it’s optional.
Round 2: ch1, *slst into same st, slst in next 3 st, sc in next 5 st, 2sctog in next 2 st, sc in next 6 st, slst in next 3 st*, repeat from* to*, slst in first sc.
Round 3: ch1, *slst into same st, slst in next 3 st, sc in next 5 st, 2sctog in next 2 st, sc in next 5 st, slst in next 3 st*, repeat from* to*, slst in first sc.
Round 4: ch1, *slst into same st, slst in next 2 st, sc in next 3 st, hdc in next 2 st, dc in next 3 st, hdc in next 2 st, sc in next 3 st, slst in next 2 st*, repeat from* to*, slst in first sc.
Round 5: ch1, sc into same st, sc in each st around, finish the round with slst in first sc.
Round 6 - 12: Repeat round 5. Leave long tail.
You can make more or less rounds, as many as you desire.
Flatten it out and sew together from inside.
****************************************
There is another way to fill the spaces between hexagons. This proved to be better while using acrylic or stretcher yarn.

A:
Round 1: Start where the arrow is pointing. Join, ch1, *sc in the same st, sc in next 9 sc, sc into the joining, sc in next 9 sc*, repeat from* to*, slst in first sc. In this case I crochet sc’s in back stitches only, but it’s optional.
Round 2: ch1, *sc into same st, sc in next 3 st, hdc in next 3 st, dc in next 2 st, 3dctog in next 3 st, dc in next 2 st, hdc in next 3 st, sc in next 3 st*, repeat from* to*, slst in first sc.
Round 3: ch1, *sc into same st, sc in next 4 st, hdc in next 3 st, dc in next 3 st, hdc in next 3 st, sc in next 4 st*, repeat from* to*, slst in first sc.
Round 4: ch1, sc into same st, sc in each st around, finish the round with slst in first sc.
Round 5 - ?: Repeat round 4. Leave long tail.
You can make more or less rounds, as many as you desire.
Flatten it out and sew together from inside.

*******************************************
Continue with the upper part of the purse now. This part is done same way as the lower part.
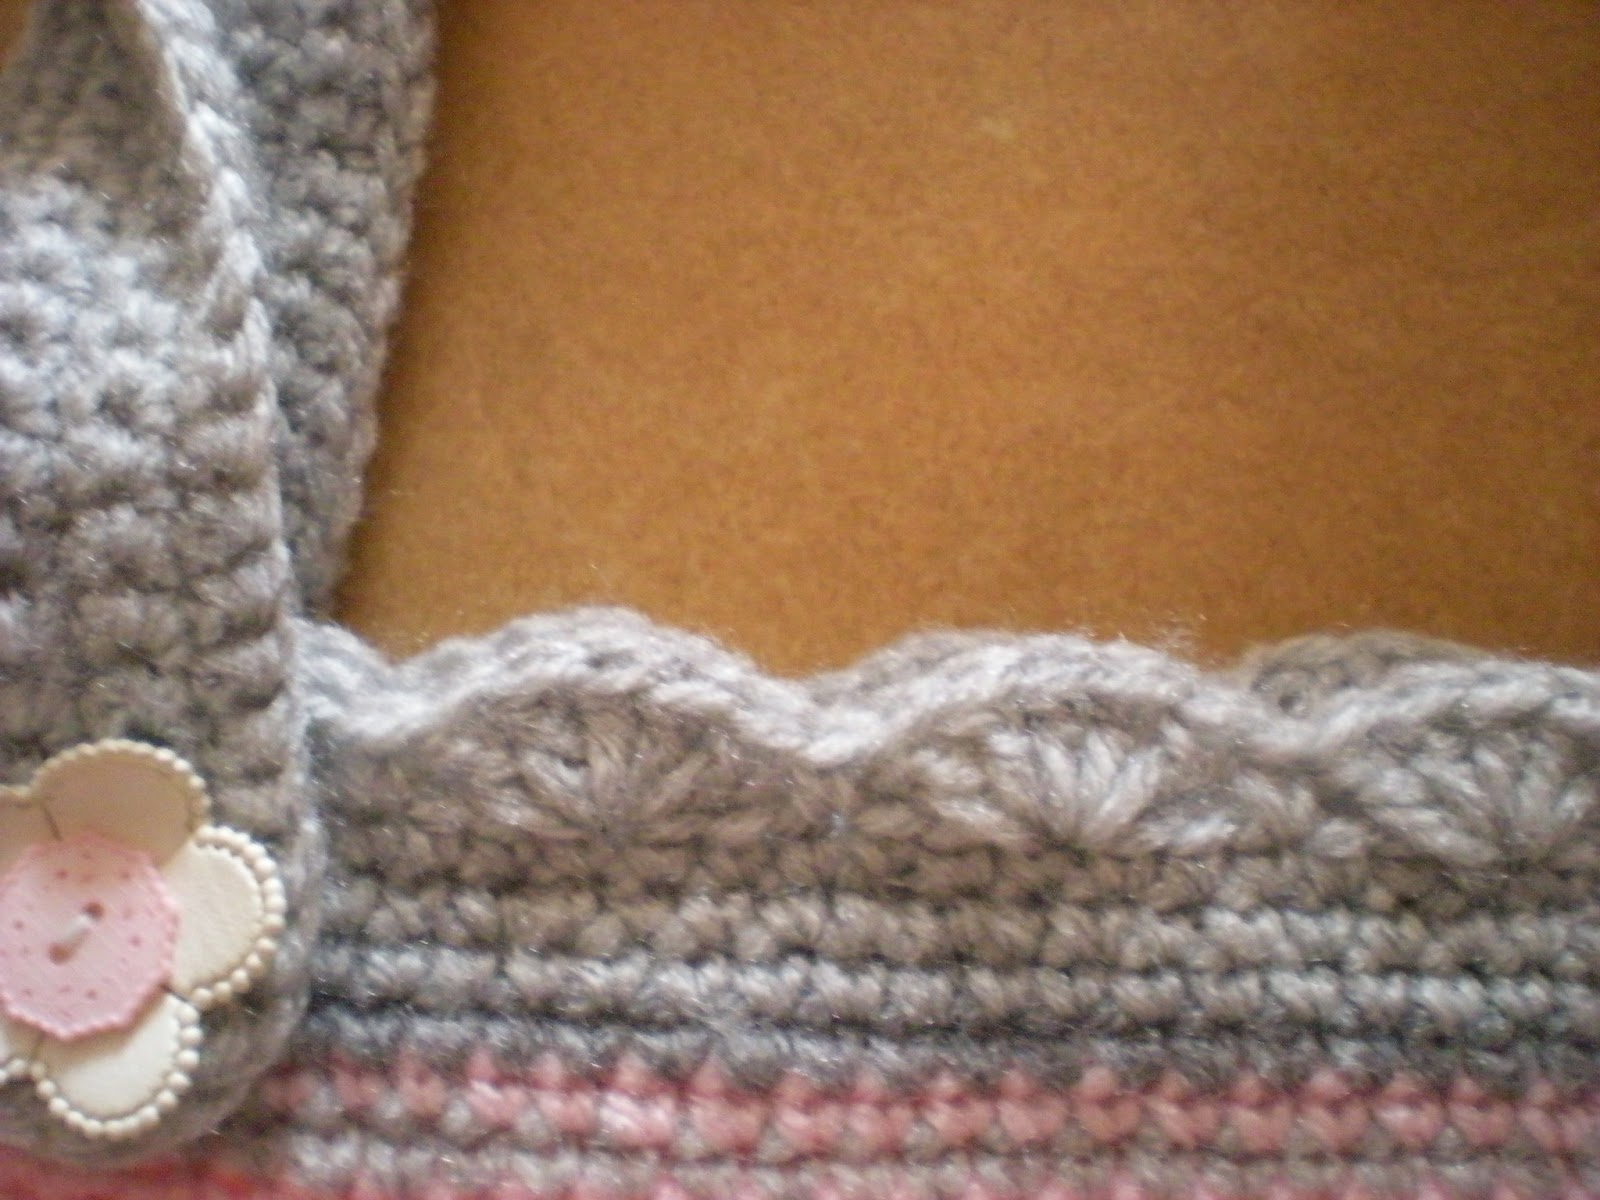
I added round 13 ( repeat round 5 on B chart above) using metallic grey and I finished with fancy edging (round 14, chart B below for the “white purse”).
Always start at the side closer to your body (backside of the purse). If the stitches do not add up to the pattern on the chart, don’t worry, just slst to fit the pattern. It’s going to be hardly visible.
Fancy edge chart B: *ch3, 2dcs into base ch of ch3, skip 2 st, sc in next*, repeat from* to*, slst at the end.

For some purses I used another option
Fancy edge chart A: *slst, skip 2 st, 5dc into the next st, skip 2st*, repeat from* to*, slst at the end.
Handles: Make row of ch stitches as long as you need for the handles, sc in 2nd ch from the hook, and sc all the way back. Do as many rows as is needed for the size of the handles you desire. I usually did between 6 and 9 rows. To make the handles stronger I used size smaller hook.

Sew the handles on the purse. If you feel the purse is to soft, sew the handles through the purse and lining. You can decorate the joining if you wish to do so.
I put a lining in the purse. It is optional. The purse is strong enough, but it looks better. I’m adding zippers to most of my purses – better be safe than sorry. If you do so, put the zipper in first. It’s easier to cover it with lining afterwards and it looks much neater.

There it is. You should have nice purse now, or an inspiration for one at least.
To my knowledge this is as best way I can explain how to make my favourit purse.
Please be understanding, and if you come up with any problems or difficulties, write to me, and I’ll be more than happy to help.
Enjoy and have nice weekend
Clara
No comments:
Post a Comment